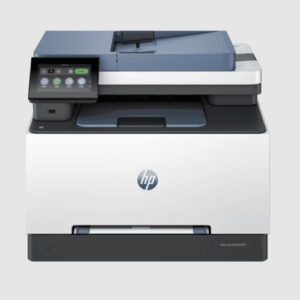
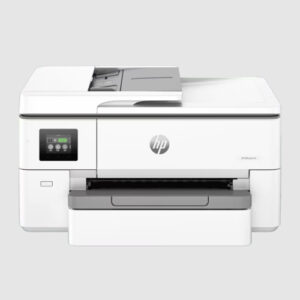
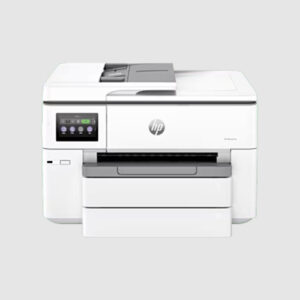
Printer Setup
Setting up a printer is a simple process that ensures smooth and efficient printing for your home or office. Begin by unboxing the printer and connecting it to a power source. Install the ink or toner cartridges and load paper into the tray. Next, connect the printer to your computer or mobile device using a USB cable or via a wireless connection. Download and install the latest drivers from the manufacturer’s website to ensure compatibility. Once installed, follow the on-screen instructions to complete the setup. After a successful test print, your printer is ready to use for all your printing needs.


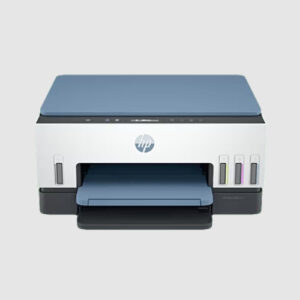
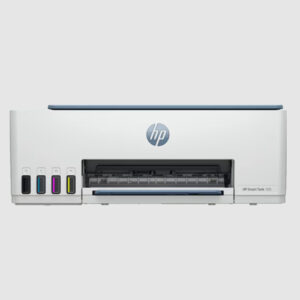
Printer Installation
Printer installation involves setting up the hardware and configuring the software to ensure proper operation. Start by placing the printer on a flat, stable surface near a power outlet and your computer or network. Plug in the power cord, turn on the printer, and install the ink or toner cartridges as instructed in the manual. Load paper into the input tray. Then, connect the printer to your computer via USB, Wi-Fi, or Ethernet, depending on the model. Install the necessary printer drivers and software from the manufacturer's website or included CD. Once the installation is complete, run a test print to confirm successful setup and functionality.


